Your cart is currently empty!
Travelling with camera gear


Packing light is key
It can be pretty hard figuring what camera gear to take while travelling, if its backpacking or just a simple holiday. I find the key to ease of travelling is packing light. Nobody wants to lug every bit of camera with them, but no one wants to miss a shot not having the right lens. It’s a pretty common problem with anyone that enjoys photography and it’s never easy question to give an answer to. A lot of people are happy with a zoom like the 24-70mm to cover all bases, some will instead go with a variation of lenses. Then there comes the question of a back up camera…
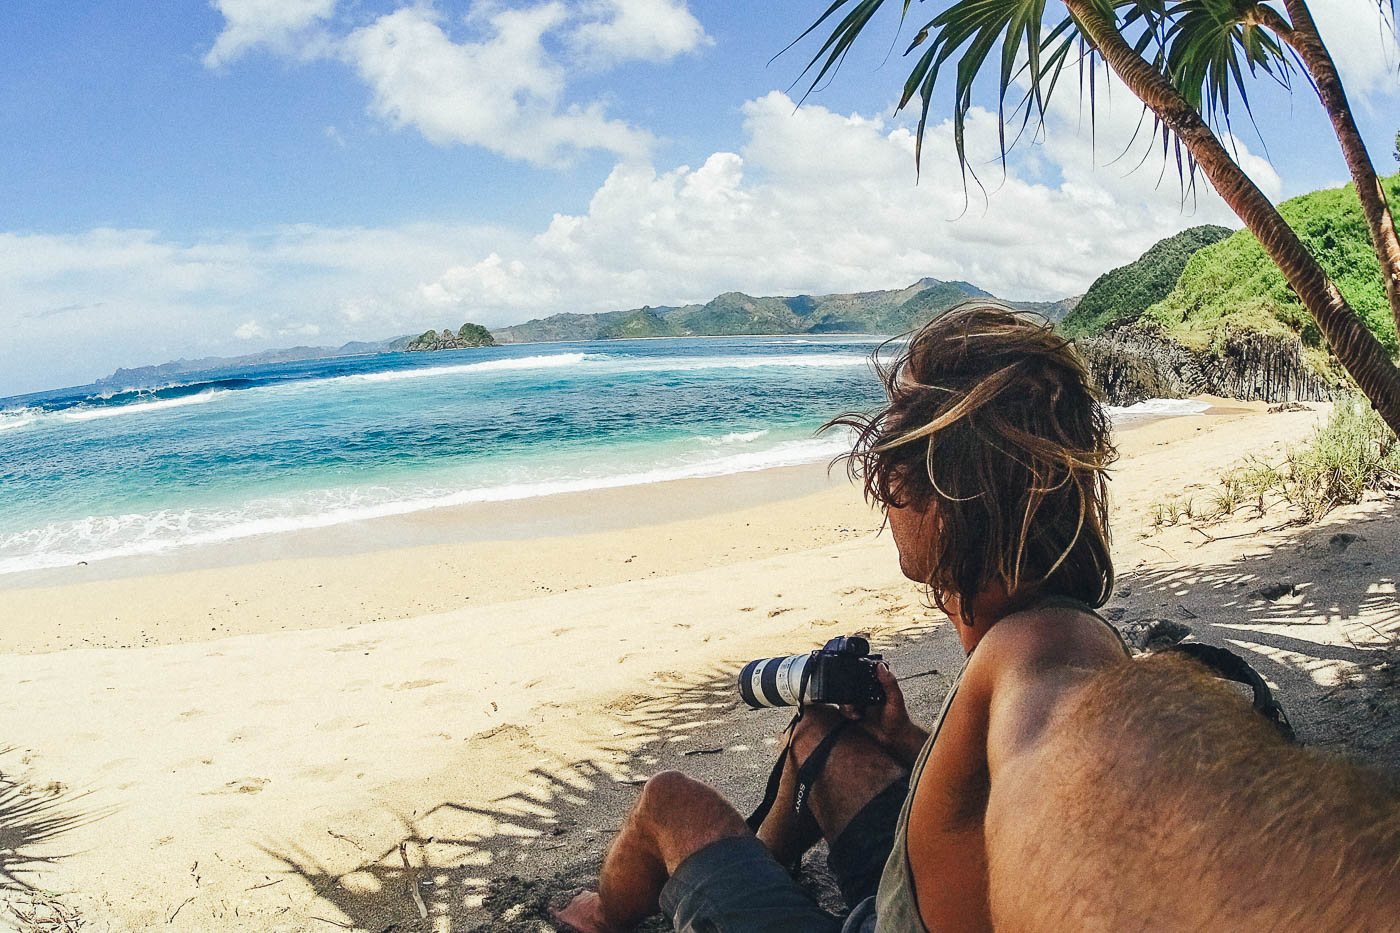
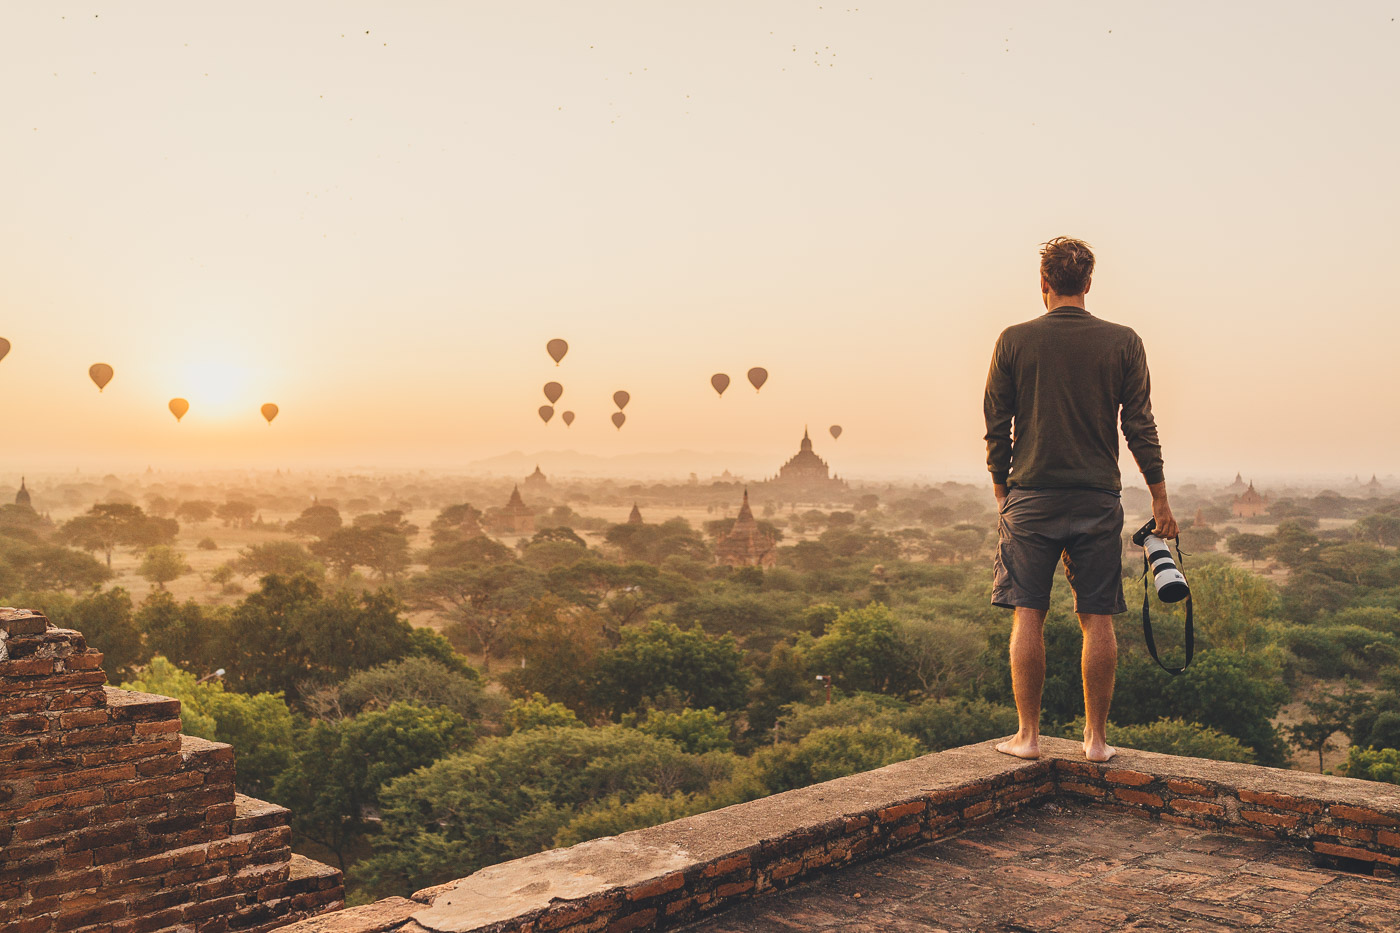
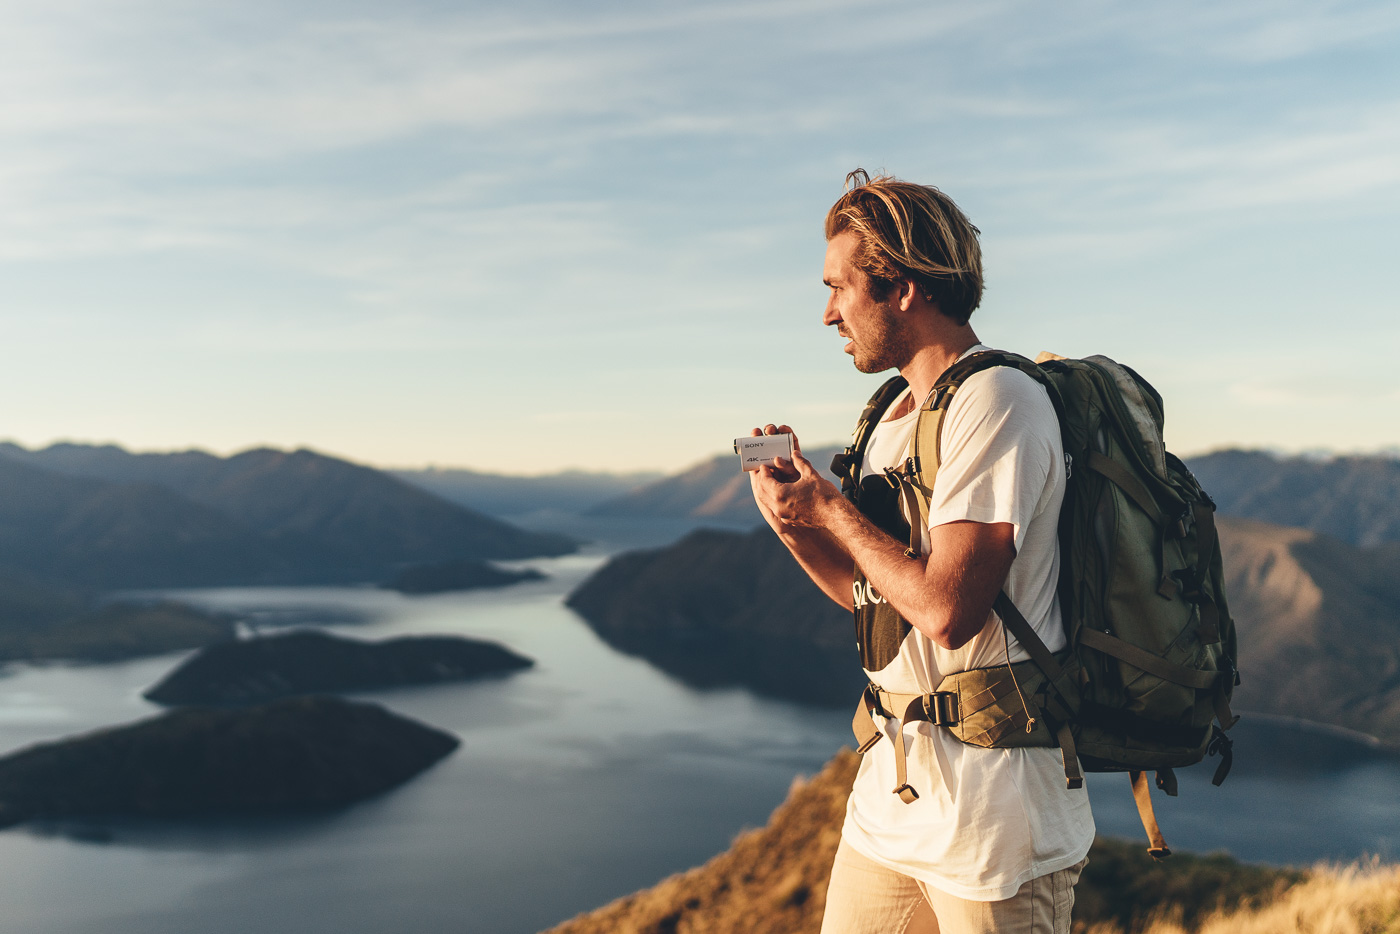
Here’s the quick answers, if you’re restricted or only want to take one lens but want range, simplest answer, take a 24-105mm f/4. Cant go wrong with that to cover most of your needs. ISO capabilities now allows f/4 to be fine in low light. I challenge you to only take a prime though. My bare bone lightweight kit is a wide, telephoto and a prime.
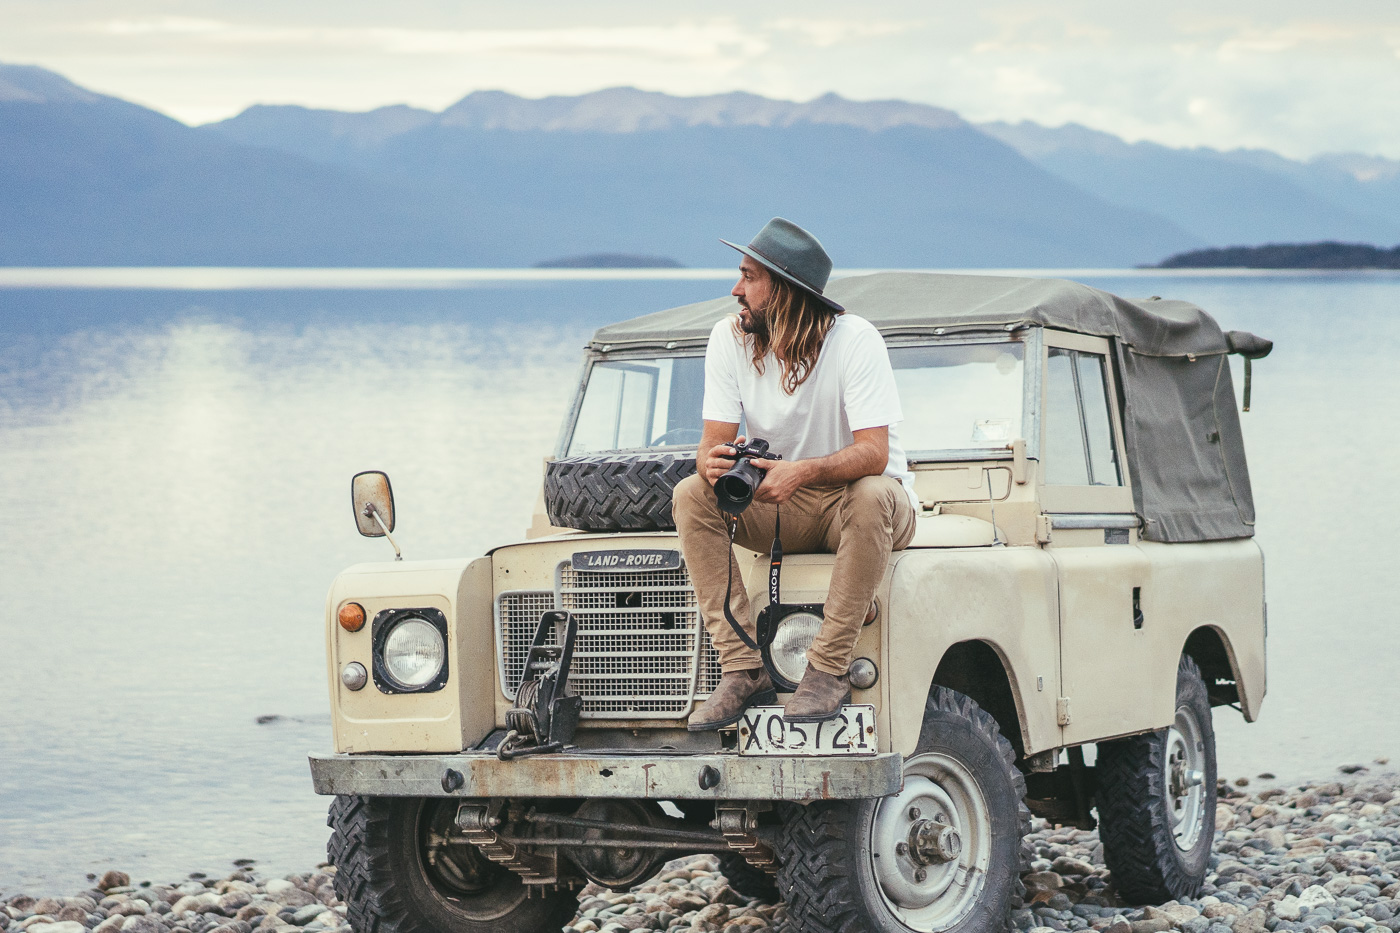
I can’t say this works for everyone but my general all round light weight kit consists of 2 main cameras, (sometimes one) and 2 lenses. The small Sony Rx1rII is always in hand and doesn’t compromise in quality. Easily my favourite camera. The Sony a7RIII is the main workhorse used with a wide or telephoto lens.
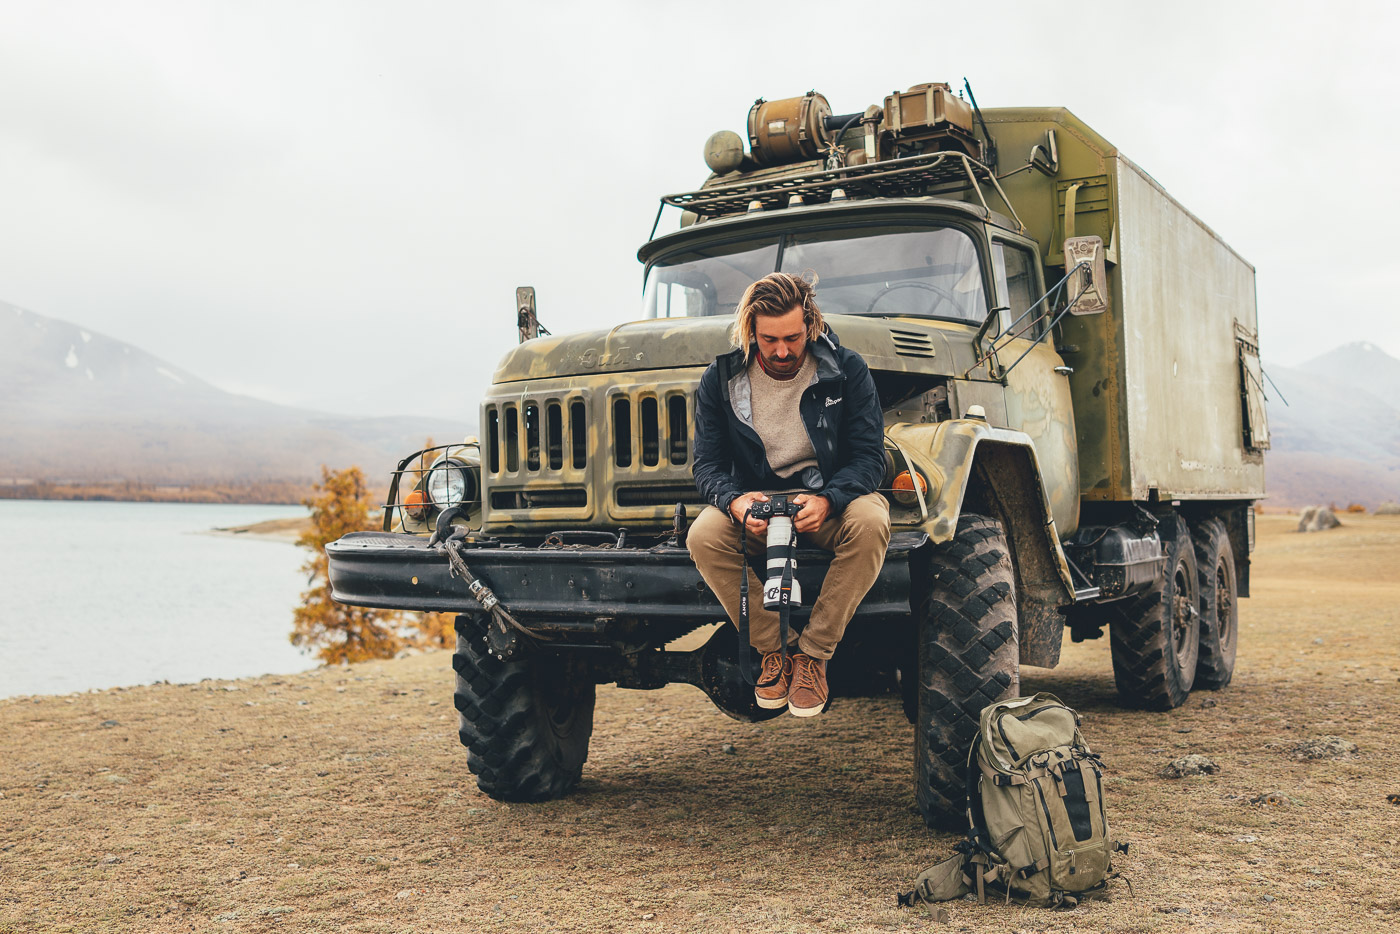
Camera & lenses:
– Sony a7rIII, the workhorse
– Sony Rx1RII, Can be treated as a back up camera. I would carry a 35mm 1.4 but this substituted also saving a larger back up camera. The 35mm is great around coverage and my fav lens length. The f/2 is perfect for tavel, the 35mm f/1.4 is my favourite, little bit more dreamy in the bokeh but its heavier so not included for this.
– Sony FE 24mm, this the wide. Gives amazing shallow DOF which I’m a huge fan on. Cheaper equivalent is the 20mm f/1.8.
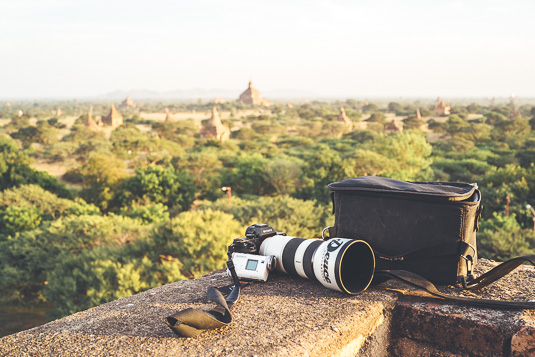
– Sony FE 70-200mm f/4. This is the telephoto. Much lighter and smaller than the f/2.8 and gives a great flare.
– Sony RX0II, this little camera has taken over from the Action camera. large 1” sensor, slog2, raw. literally a RX100 in a indestructible waterproof body with a fold out lens. Worth taking a look if you want something ultra small that you don’t have to be delicate with.
That is my lightest lens choice but other lenses I consider:
– Sony FE 35mm f/1.4, sometimes I need a 35mm on the main camera, if so I would sometimes take out the back up RX1rII to save weight.
– Sony FE 16-35mm f/4. It’s another option that I change out for the 24mm f/1.4. Not as shallow depth of Field but wider angle.
– Sony FE 55mm f/1.8, this is ridiculously sharp and tiny. Don’t be shy to take this with you. I sometime take this if I have extra space
– Sony FE 85mm f/1.8, this isn’t often in my lightweight kit but worth a mention. It’s light and small which is why I downsized from the 85mm f/1.4. That and my Salty surf underwater housing port fits the f/1.8.
Do note: I mainly work on the full frame Sony alpha range. If you’re rocking a crop sensor mirrorless say the Sony a6500, do remember the lens will be slightly magnified. A 35mm on a crop body will equal the same as a 50mm, a 50mm will be a 85mm. Times the mm length by 1.5x.
Other gear:
– Apple Macbook Pro, super light for travel.
– 1x SSD hard drive, USB C, super quick for downloads, 3mins vs 45mins (HDD) for 64GB cards.
– 2x 2TB portable HDD, Used for backing up, I carry these around in a small padded lens case.
– 4x 64GB SD cards + 2x 64GB micro SD cards in a small zip pouch
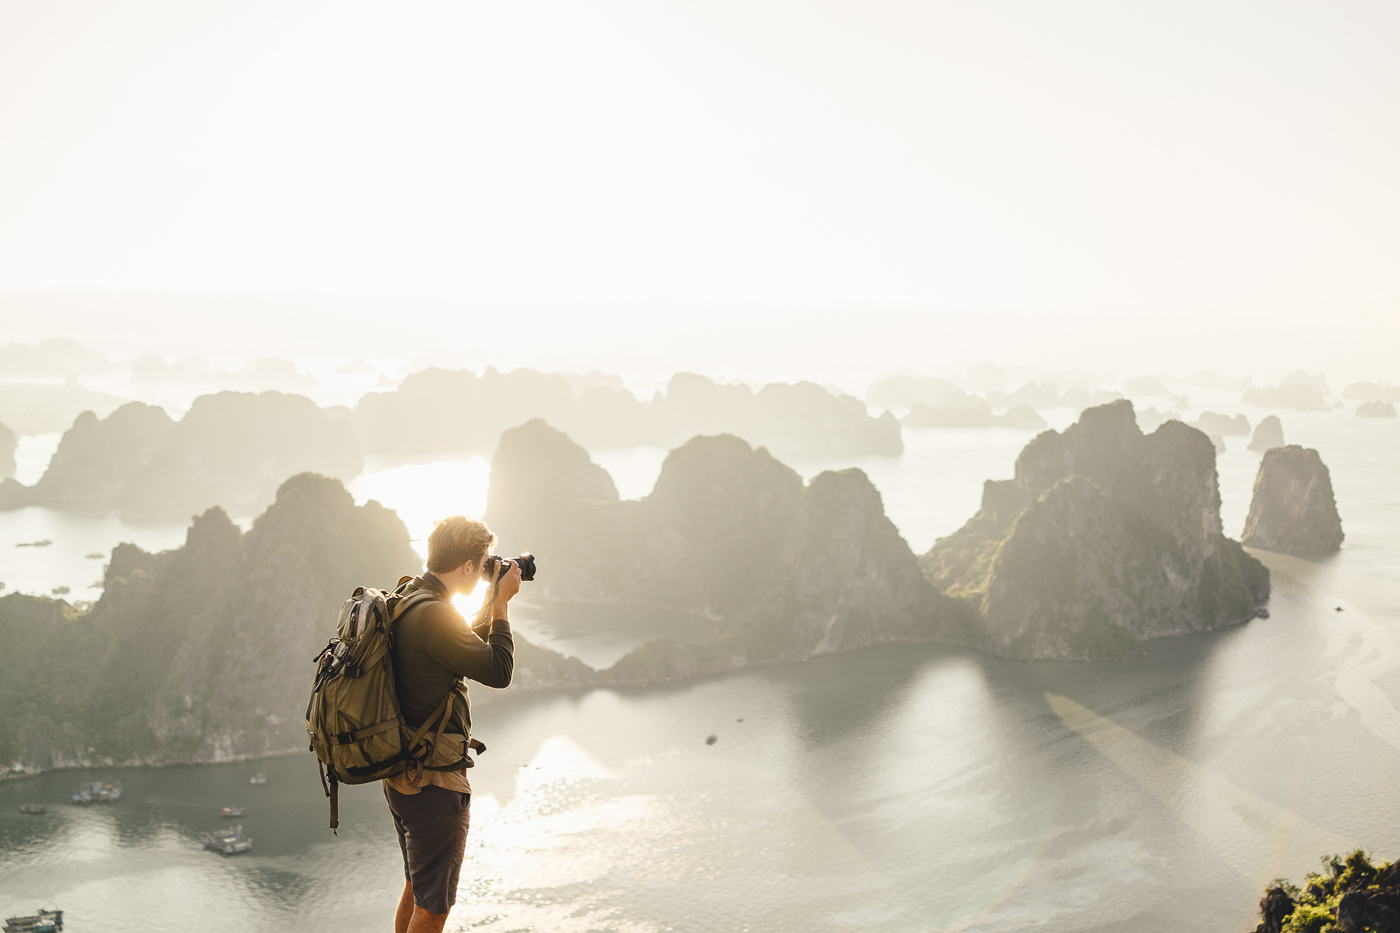
– F-stop tilopa bag + small pro ICU + raincover. Used them for over a decade now. By far the best bag I’ve owned and haven’t found anything comparable in structure and versatility. I use it hiking, climbing, in the snow, everywhere. Can slip out the ICU and sling over the shoulder for smaller walk arounds.
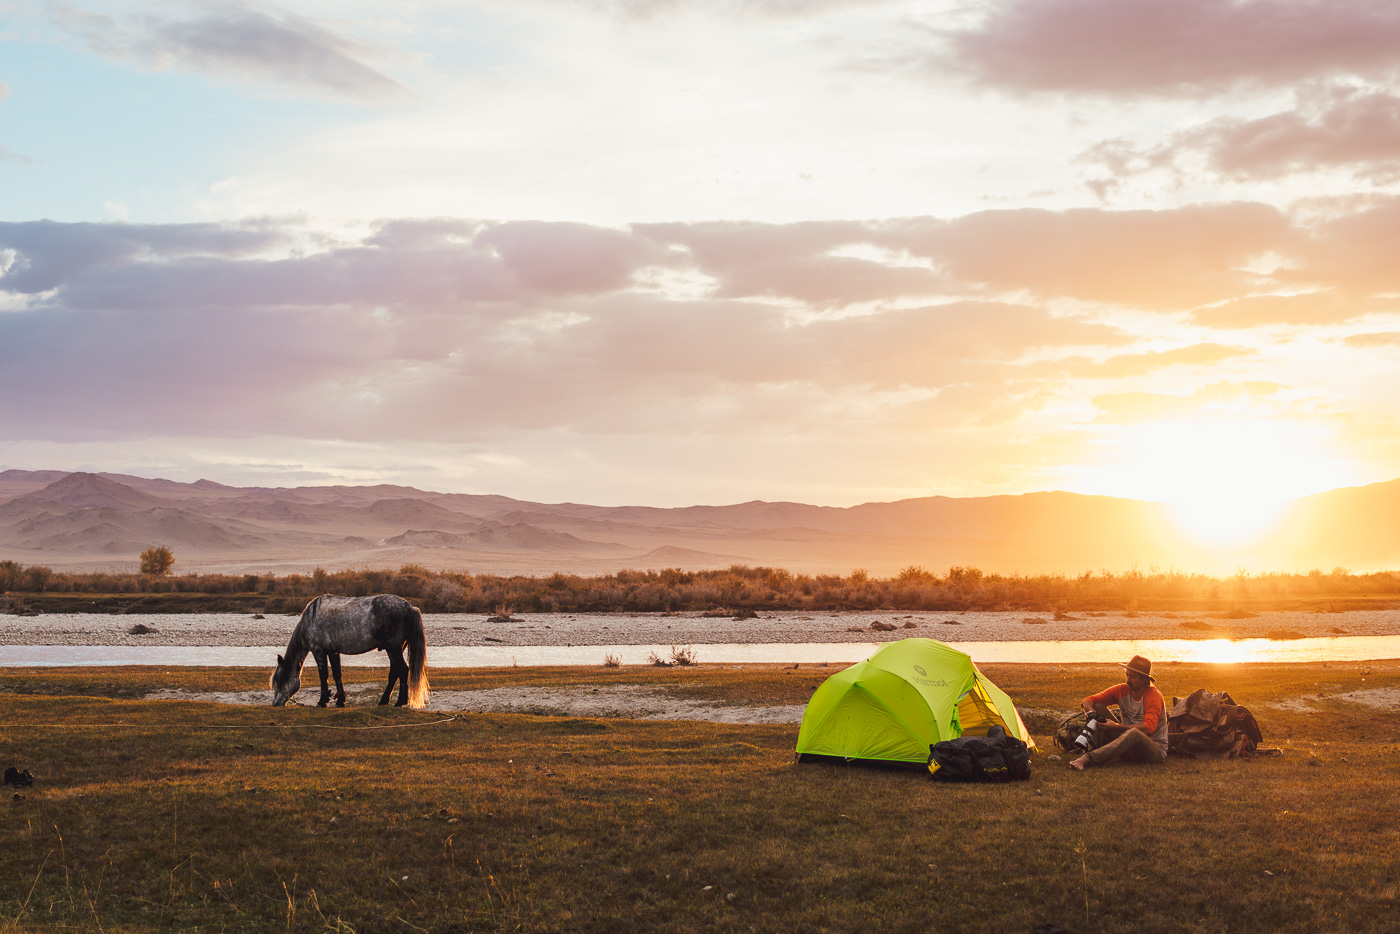
– 15-25L dry bag, handy to have incase things get really wet and crossing a river in a sketchy boat or it’s flood season. Safe to have if you’re going rough and risking it. can slip down the side of the pack.


– Cords/chargers + extras in a pull string bag
– 2x 10,000hz portable chargers. No brainer for charging the phone or camera batteries on the go. Do check your mAh limits as they have recently changed for the total of batteries onboard so they don’t get confiscated.
– USB charger for the a7 batteries. Third Party double dock off Ebay works well but a bit slow.
– Manfrotto Modo or Befree tripod, super compact and lightweight with features to get low and hard angles.
– Sony Action Cam telescopic Monopod, The a7 Mirrorless system is super light so I can use the monopod to extend height or hang it out over walls to get a different angle, then use the app see the framing.
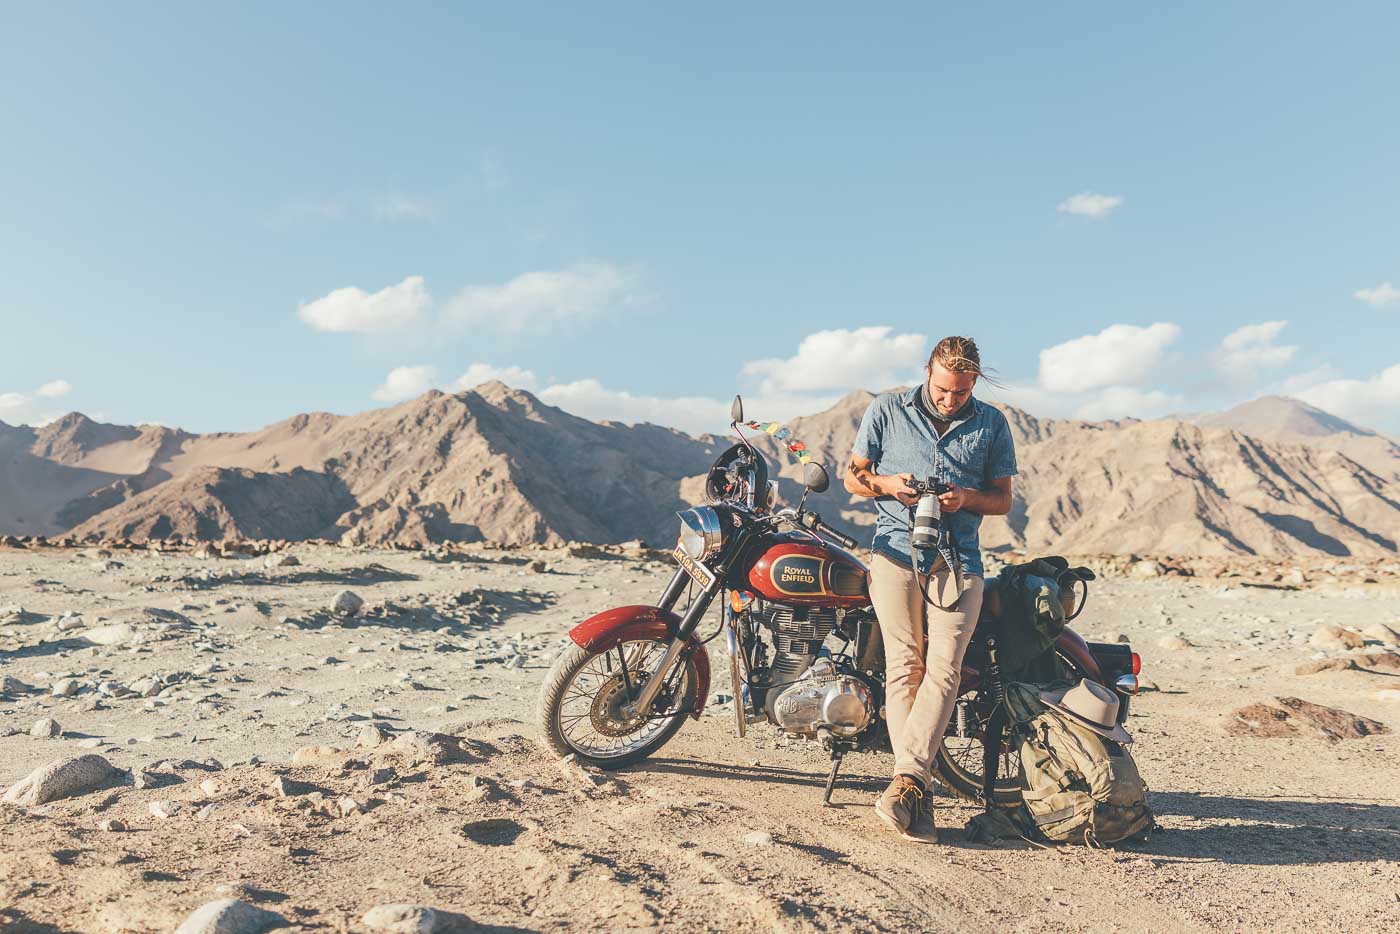
Most of the time I’m travelling I pack as light as possible, aiming for carry-on only if the situation allows. It’s not just about the ease of carrying the gear around but many other aspects too. It’s a nightmare when an airline looses your check in luggage, you might not get it back for a few days or maybe weeks, or even completely lost. It’s not safe to rely on insurance. Ideally all of the important gear is with you as carry on. It’s very common to see photographers loading up their pockets going through the airport.
There’s a good chance your carry on baggage will be over or close to the limit. Here’s some tips:
– Remove your lens hoods to save weight, most of the time you wont use them, I love flare but if I don’t like it i shade it with my hand. Mirrorless is much easier to see the exact image you’re unlike DSLR which may differ once the mirror lifts up.
– Carry your laptop or in the trolley, most airlines allow one laptop and one carry on.
– Wear your heaviest lens and camera over your shoulder hidden behind the laptop.
– Carry extra lenses in your jacket pockets, a puffer can then be used as a pillow on the plane once you’ve put all the gear away in your bag overhead.
– When waiting in line for check-in, have you bag on the trolley or ground. Pick it up when you’re close to the front, it will feel lighter than waiting half an hour on your shoulder. You will look fresher and less likely to be weighed.
– Wear your bag on one shoulder and loosen the straps so it hangs like its much lighter than it is.
– May seem stupid but talk to the check out person, ask how they are, what time they started. Travel can be very stressful and people forget to be kind. If you’re kind to them, they will be kind to you, and most likely not ask to then weigh your carry on.
– Some budget airlines weigh as your board so have that in mind with your pockets filled with heavy gear.
Hopefully those simple and easy tips help, it’s saved me multiple times taking 25kg as carry on for bigger jobs. Ideally less is best though.
Insurance is a big problem, if you look in your terms and conditions, it’s very hard to find a company that doesn’t say max $1500 for lens and camera combo or max total. Specifying items also have a common limit of $3000. Also if its delayed on your return leg of your trip, most insurance companies wont copy the delays of your trip. If it’s vitally needed gear, beware.
